Sorry I’ve been neglecting my blog. I’ve been making some delicious cakes too. I will catch up and let you know what I’ve been up to. In the meantime, here is a little photo of my Christmas Cake for this year.

Sorry I’ve been neglecting my blog. I’ve been making some delicious cakes too. I will catch up and let you know what I’ve been up to. In the meantime, here is a little photo of my Christmas Cake for this year.
Ahem, it’s a little overdue but here is my guide to making a Peppa Pig Car Cake. I made this one using the Little Man’s Peppa Pig Car toy for reference.

I started off with a basic 10 by 12 inch sponge cake which I then shaped into a basic car shape. I also sliced the cake in half and filled with a thin layer of butter cream.

I marked out a square on the top of the cake and hollowed it out to about 1/2 inch.

Next step was to cover entire cake with a layer of butter cream. I then covered the cake with red fondant icing and cut out the middle square.

The middle bit was then covered with a layer of cream coloured fondant icing and I used two strips of fondant to divide the seats and make a back rest. I then made four pig bodies from rolled up fondant. Daddy Pig is green, Mummy Pig is Orange, Peppa Pig is red and George is blue.

you can just see the toy car in the background.
I also made four pig heads out of pig pink fondant icing

Then it was time to add the final details and put it all together


I used edible pens for the finer details like the faces on the pigs. I piped the car doors and bonnet with red icing and made the wheels, lights and mirrors out of fondant.
The Little Man was extremely pleased with his cake 🙂
I have had probably the worst summer ever with my little girl damaging her neck and spending so much time at the hospital. I have fitted in some baking but not enough time to write up the blog posts. You can read about my daughter on my other blog here.
Since my last post I’ve made my little man a Peppa Pig car for his 3rd birthday. For now, here is a photo of the finished cake, I’ll write more about how I made it soon.
I also made a My Little Pony Cake for my daughter’s 8th birthday, I attempted a rainbow cake so I’ve plenty to tell you of how I did that and what I’d do differently next time. In the meantime, here is the finished cake

I also made an Angel Cake which was so light and fluffy, I’ll share my recipe with you soon, meanwhile here is another photo

So bear with me and I’ll be back soon.
First a little apology. I’ve been baking and making but not posting here. I don’t have my laptop at the moment as it’s being repaired, and guess where I’ve stored most of my photos?
I am here to day though to write about the cake I made for my daughter’s 6th Birthday last week.
We had a Princess Adventure Puzzle Party and I wanted a cake that fitted the theme. My design included both princesses and puzzles and over all I was quite happy with it.
The cake was a basic sponge cake which I adapted to make a 10 by 12 inch cake. I then cut off the two inches to make it a 10 inch cake and used the surplus to make the tower in the middle. The turrets were made from cake rings topped with Rice Krispie Treats.
I decided to cover the cake with white fondant and then add some colour with the decorations. As I wanted the fondant to stand up from the edge of the cake I first covered the top with a square of fondant, then the sides with a strip. I had to roll the fondant a little thicker than I would usually do.
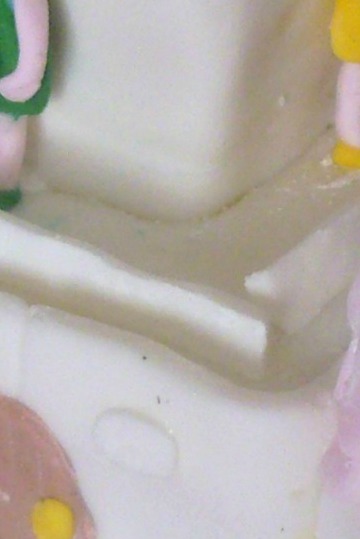 As you can see, it wasn’t perfectly straight but that was a minor problem.
After icing the main cake I did the same to the smaller cake and put it on top. I then made some icing strips and placed them on both cakes to give a maze effect.

I then made the turrets and covered the top parts in little semi circles of pink fondant. It was a really hot day and I did have a little trouble with the shaping of the Rice Krispie Treats and fondant so they turned out a little wonky, but the kids didn’t mind.

The final fondant decorations I’d made earlier in the week. I added princesses in bright colours, piping on their hair after they’d been added. Then I added doors and jigsaw pieces.
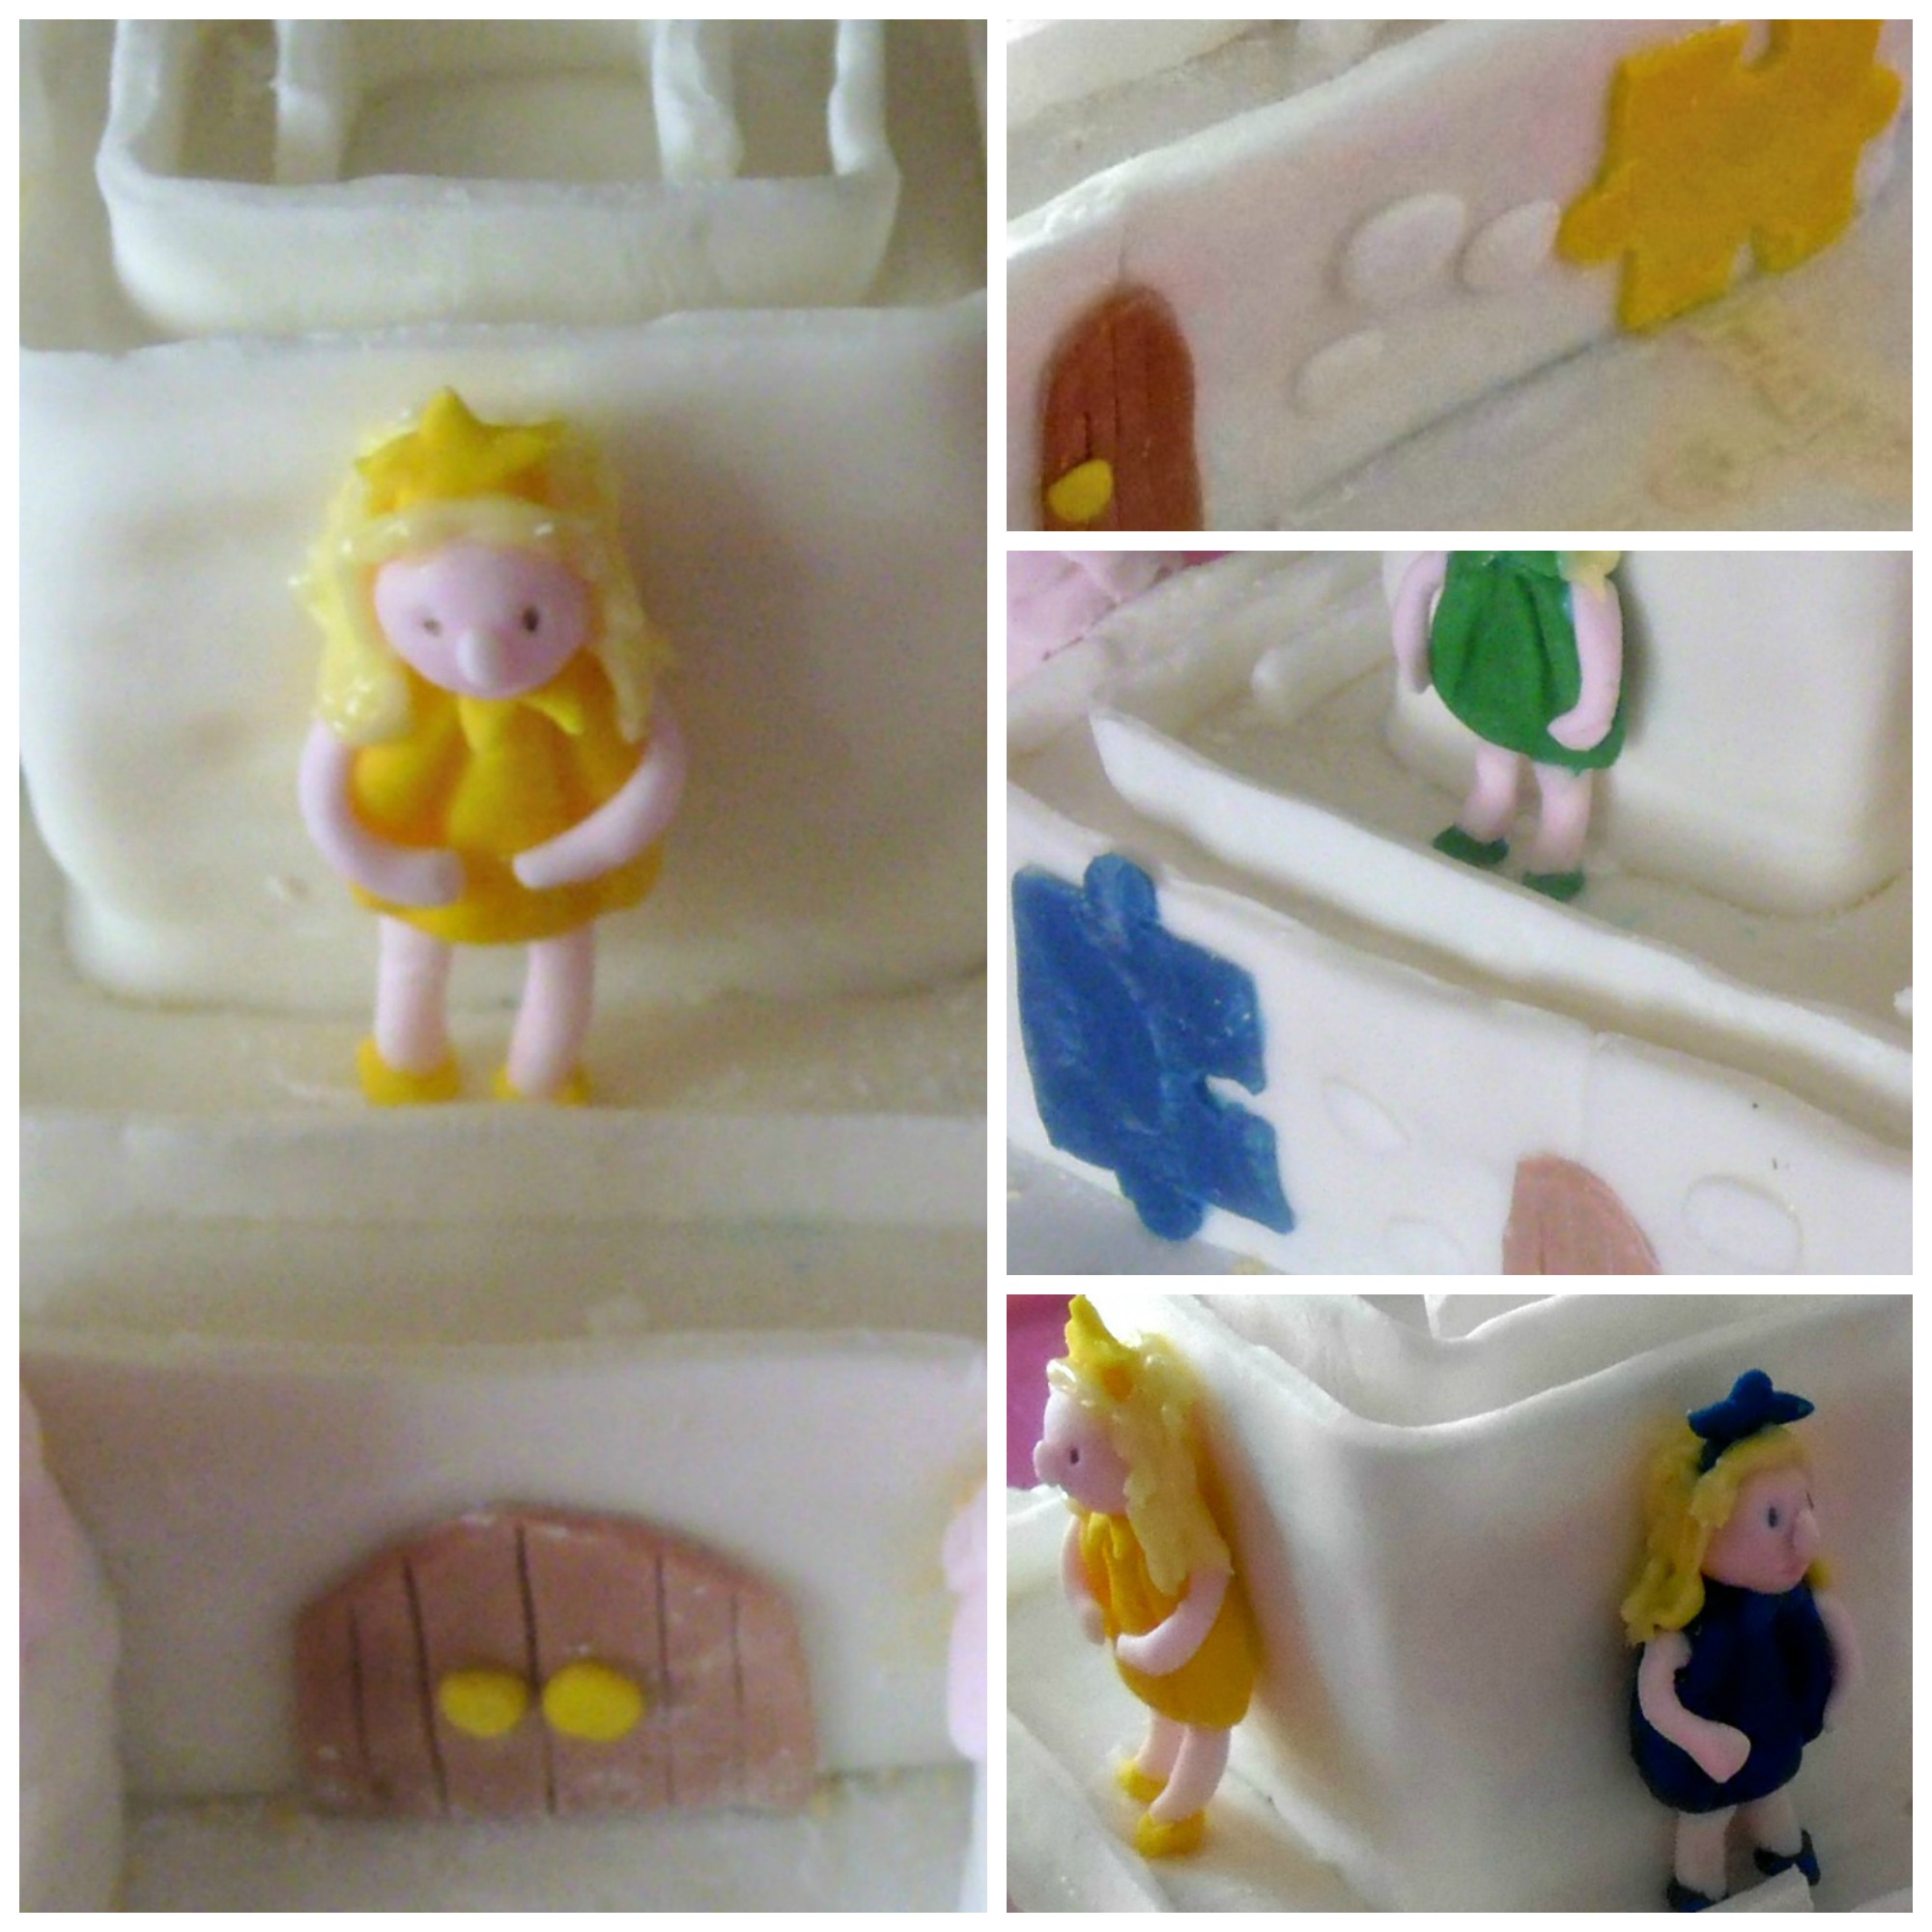
My little Princess and her friends were very happy with the cake.

My brother’s birthday fell while we were on holiday and I didn’t think I’d have time to make him a cake before we went away, but I managed to put this one together in just a few hours.
I had already made the figure, who looks just like my brother, and the shed earlier in the week. The figure was made from fondant and the shed from Rice Krispie Cakes covered with chocolate and fondant.

The rickety look of the shed was done on purpose, my brother made his garden shed himself 😉
The cake itself was a basic sponge cake, filled and covered with butter cream. Then I covered it in green fondant, it did actually look a little darker than it does in the photo. I then put on the Shed and figure. The outside of the cake I stuck on chocolate fingers using melted chocolate to give a fence look. Finally I added a few details like the potted plants and the grass made from fondant.
Tip for grass: push a piece of fondant through a sieve, cut it off with a knife and hey presto you have a grass patch, or a bush if you use a little more.

I have a friend who’s birthday is very close to his son’s birthday and they are both PS3 fanatics. I wanted to make them a PS3 cake but to be honest, the system is a little boring to look at and wouldn’t make for an interesting cake at all. Also, it’s all black, definitely not my favourite colour for a cake. So I decided to go for controllers instead. Again they are black but I decided to put them against a white background for more effect.
I made two basic square shaped cakes and used one as the base and the other I cut out the controllers. I used a simple template to do this.
All decorations where made in fondant. I coloured icing to do the little icons but I wish I’d just bought something like writing icing as it was incredibly time consuming.
Anyway, here is the finished result, both boys were very happy.

I love apples but when used in a cake I’m not so keen on the lump texture they give. This cake gives you a taste of the apple but in layers rather than scattered throughout the cake. I added the cider for extra flavour and because I’d read a recipe where cider was reduced to make a glaze, so I’ve used that here too.
Ingredients;
175gm unsalted butter or margarine ( I use Stork)
175gm caster sugar
3 eggs, lightly beaten
175gm self-raising flour
For the apple filling/topping:
3 apples, I used Braeburn
3 tbs cider
3 tbs double cream
1tsp cinnamon
1 tsp vanilla essence
Glaze:
300ml cider
3tbs icing sugar
Method:


When I made the cake for my niece’s birthday I was approached by someone else and asked to make a cake for their son’s 8th birthday. They requested a Spiderman Cake so I said yes and here it is.
First up I started with a basic cake cooked in a 32cm by 22cm oblong cake tin. I cut the shape of a head and made a little nose out of some of the cake I’d cut off. I filled it with butter cream and also coated it with butter cream before icing. I like to leave the cake for at least an hour for the butter cream to harden a little and give a better surface for the fondant.
I had to colour the fondant icing red, one of the colours I don’t like doing because it’s difficult to get it right, it takes a lot to make it look red rather than pink. One tip is to use a gel colour rather than a liquid one. I used red and claret food colouring to get the right shade.
I lightly marked the lines of the web with a plastic tool before filling it in with piped black royal icing. The eyes I cut out of fondant.
I found making this cake pretty easy and I was happy with my results

 .
.
I was given the opportunity to make a photo book from Vista Print site
I’ve made a photo book before using my favourite photo’s of my children and I really love it, so I was thrilled to be able to make a book of my cake photos.
The process is simple, you choose your book size, add your photos, add any extras like backgrounds and text then in a few clicks it’s all sent off to be printed. A few days later your book is in your hand.
One thing I will say is that building your book can be very time consuming so it’s best to be prepared. I’ve found that the first job is to sort out which photo’s you want to use and put them all in a folder for easy access. This saves searching around for photos while you are in the process of building your book.
On VistaPrint you can edit your photos while building your book. This means you don’t have to spend ages editing them before hand, and you will know exactly how they will look in the book.
When you open up the application you will find places set out for your photos and any text you may wish to use. These are all completely editable, you can move them around, delete them or add extras, and it’s all very simple to do.
It is a time consuming process though, you choose your photos, choose where you want them to be, add text or backgrounds or even frames. You may not finish in one sitting so it’s handy that you can save your work at any time and return to it later. It took me about three hours to finish my book.
You will get warnings if your photos are not the best quality. You can choose to edit your photos or swap them for better. I left a few with warnings in and they were still printed.
For my book I chose to do a mixture of my favourite cake recipes followed by a montage of photos of the cakes I have decorated. My photos were not all brilliant, I’m no photographer, but the book still gave me great pleasure.
I chose the extra large 30cm by 30cm square book with a hardcover. I was also able to add photos to the cover both front and back.
I love the quality of the book, the pages are glossy and bound together well. The overall effect is very professional looking.
If you would like to make a photo book please continue to the end of this post where I will give you details of how you can enter my give away.

My Cake Book


VistaPrint have given me a voucher for a photo book of your choice. You can choose the size and finish and fill it with whatever photos you wish. To be in with a chance of winning this fantastic prize please just comment below and let me know what you would use your photo book for, for example, your holiday pics, your baby pics, family day out etc.
This competition is for UK entrants only.
This competition may also be promoted on our Facebook page.
This competition will end on 9th May when one winner will be chosen at random.
Good Luck!
The competition is now closed and the winner chosen by random org. was no2 Sprigtreasurer, Congratulations, I’ll contact you with details very soon.
Disclaimer: I was given a voucher from Vista Print to make a book of my cakes. I was also given a voucher to give away to one of my readers by competition.


